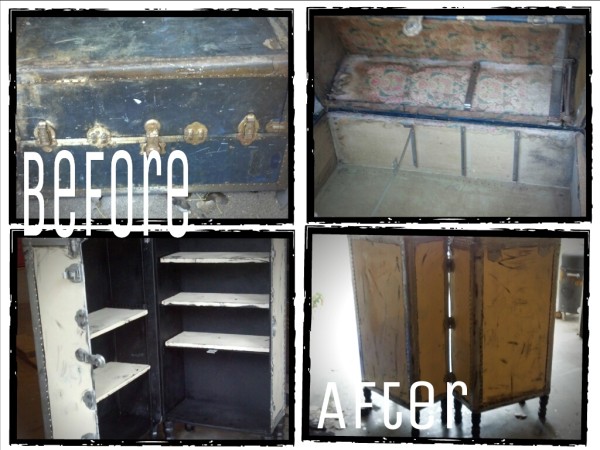
A friend of mine bought an old steamer trunk and sold it to me for a great price. I am a huge book collector and wanted to try something out of the ordinary. I found many projects on Pinterest for steamer trunks, but most of them were for tables, and wine bars. These old trunks can often be found at thrift stores, on Ebay, at antique stores, and at garage sales. You might be able to find one in your own family. I’ve always found old trunks intriguing, the idea of who they belonged to, where they have been, and what time-period they were from. This particular trunk was estimated to have been from the 1930’s. In ripping out the old floral fabric, we found an old bullet shell casing. I save it along with a swatch of the fabric washed it and preserved them in a shadow box displayed with before pictures above the finished shelf. It is important to me to show the history of the trunk. As I was getting ready to turn the trunk into a bookshelf, I noticed some surface damages to the trunk, which changed my plan on how I wanted to change it.
You will need:
- Sandpaper or an electric sander if you have access to one
- Rags
- Kilz spray- 2 cans
- Putty Knife
- Brass Cleaner or other metal cleaner (depending on what type of the metal parts of the trunk)
- Spray Paint in 2 Coordinating Colors or Chalk Paint (but I suggest doing research first on the paint before choosing)
- Metallic Paint (if the metal on the trunk is unable to be salvaged, as mine wasn’t)
- Polyurethane Spray
- Tape Measure
- Wood Glue
- Metal Shelf Support Strip
- Shelf Support Clips Zinc
- Legs or Wheels, Depending on Your Style
- Shelves
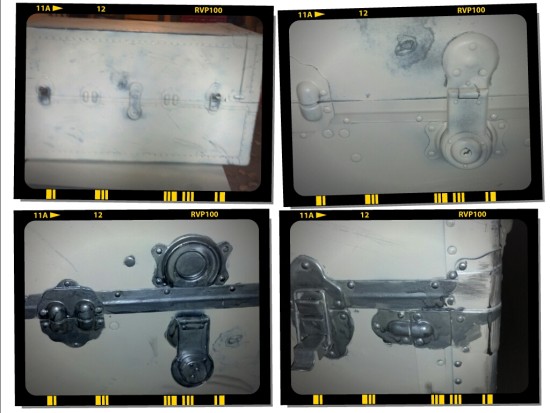
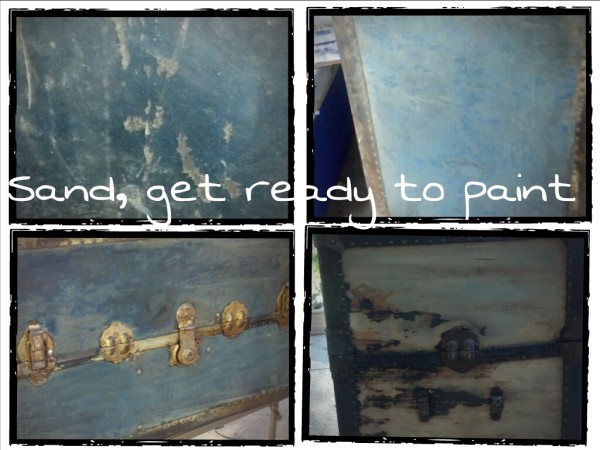
The metal on the trunk did not seem to be real brass -only parts of it were even metal, and the metal was corroded. I attempted to clean it up to preserve it, but soon decided it would look better if I painted over it.
The first step in revising the trunk was sanding it, and I had to cut out some of the top layer that had been warped and damaged. The second step was adding the legs. We drilled small holes into the metal corners, and found the legs at Home Depot. Painting with primer was next. I used an Ivory Silk spray paint with primer. I painted the entire outside, hardware included. I was going for the distressed and damaged look. After coating a couple of times, I painted the metal with silver oil-based paint. I used a black oil-based paint and a dry sponge to distress the metal parts and the ivory once dry.
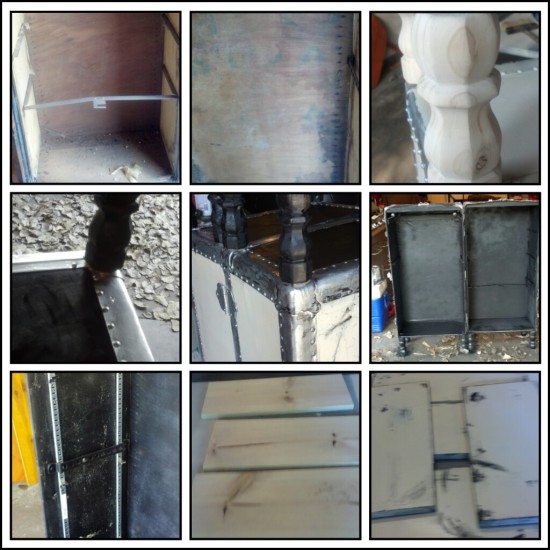
Next I painted the bottom, and the legs. Once they dried, we turned it upright again. Next, we cleaned up the inside, stripping the fabric, and spraying with the Kilz. Once thoroughly dry, I painted the inside black. We installed the shelf support strips with wood glue, and braced them wood scraps until the glue set hardened.

I measured the inside of the shelf and took the dimensions to Home Depot, and they cut the shelves for me. I painted them the same ivory color as the outside of the trunk. Once dry, I distressed them with the black paint and sponge. Once I was sure everything was touched up, I sprayed the entire shelf with polyurethane spray.
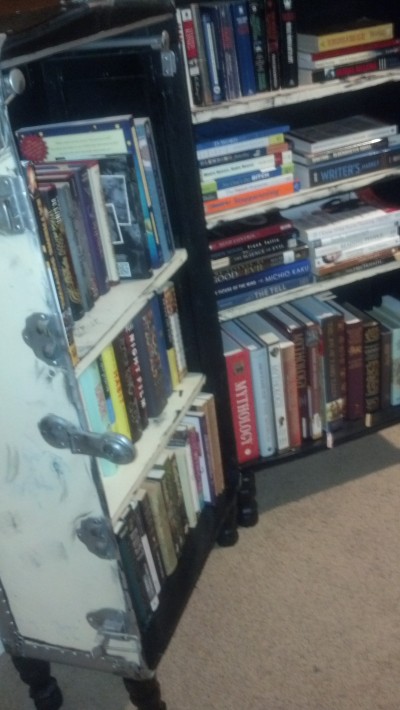
I hope you enjoy my little DIY project! This was my first big project, and I’m pretty proud of the result!
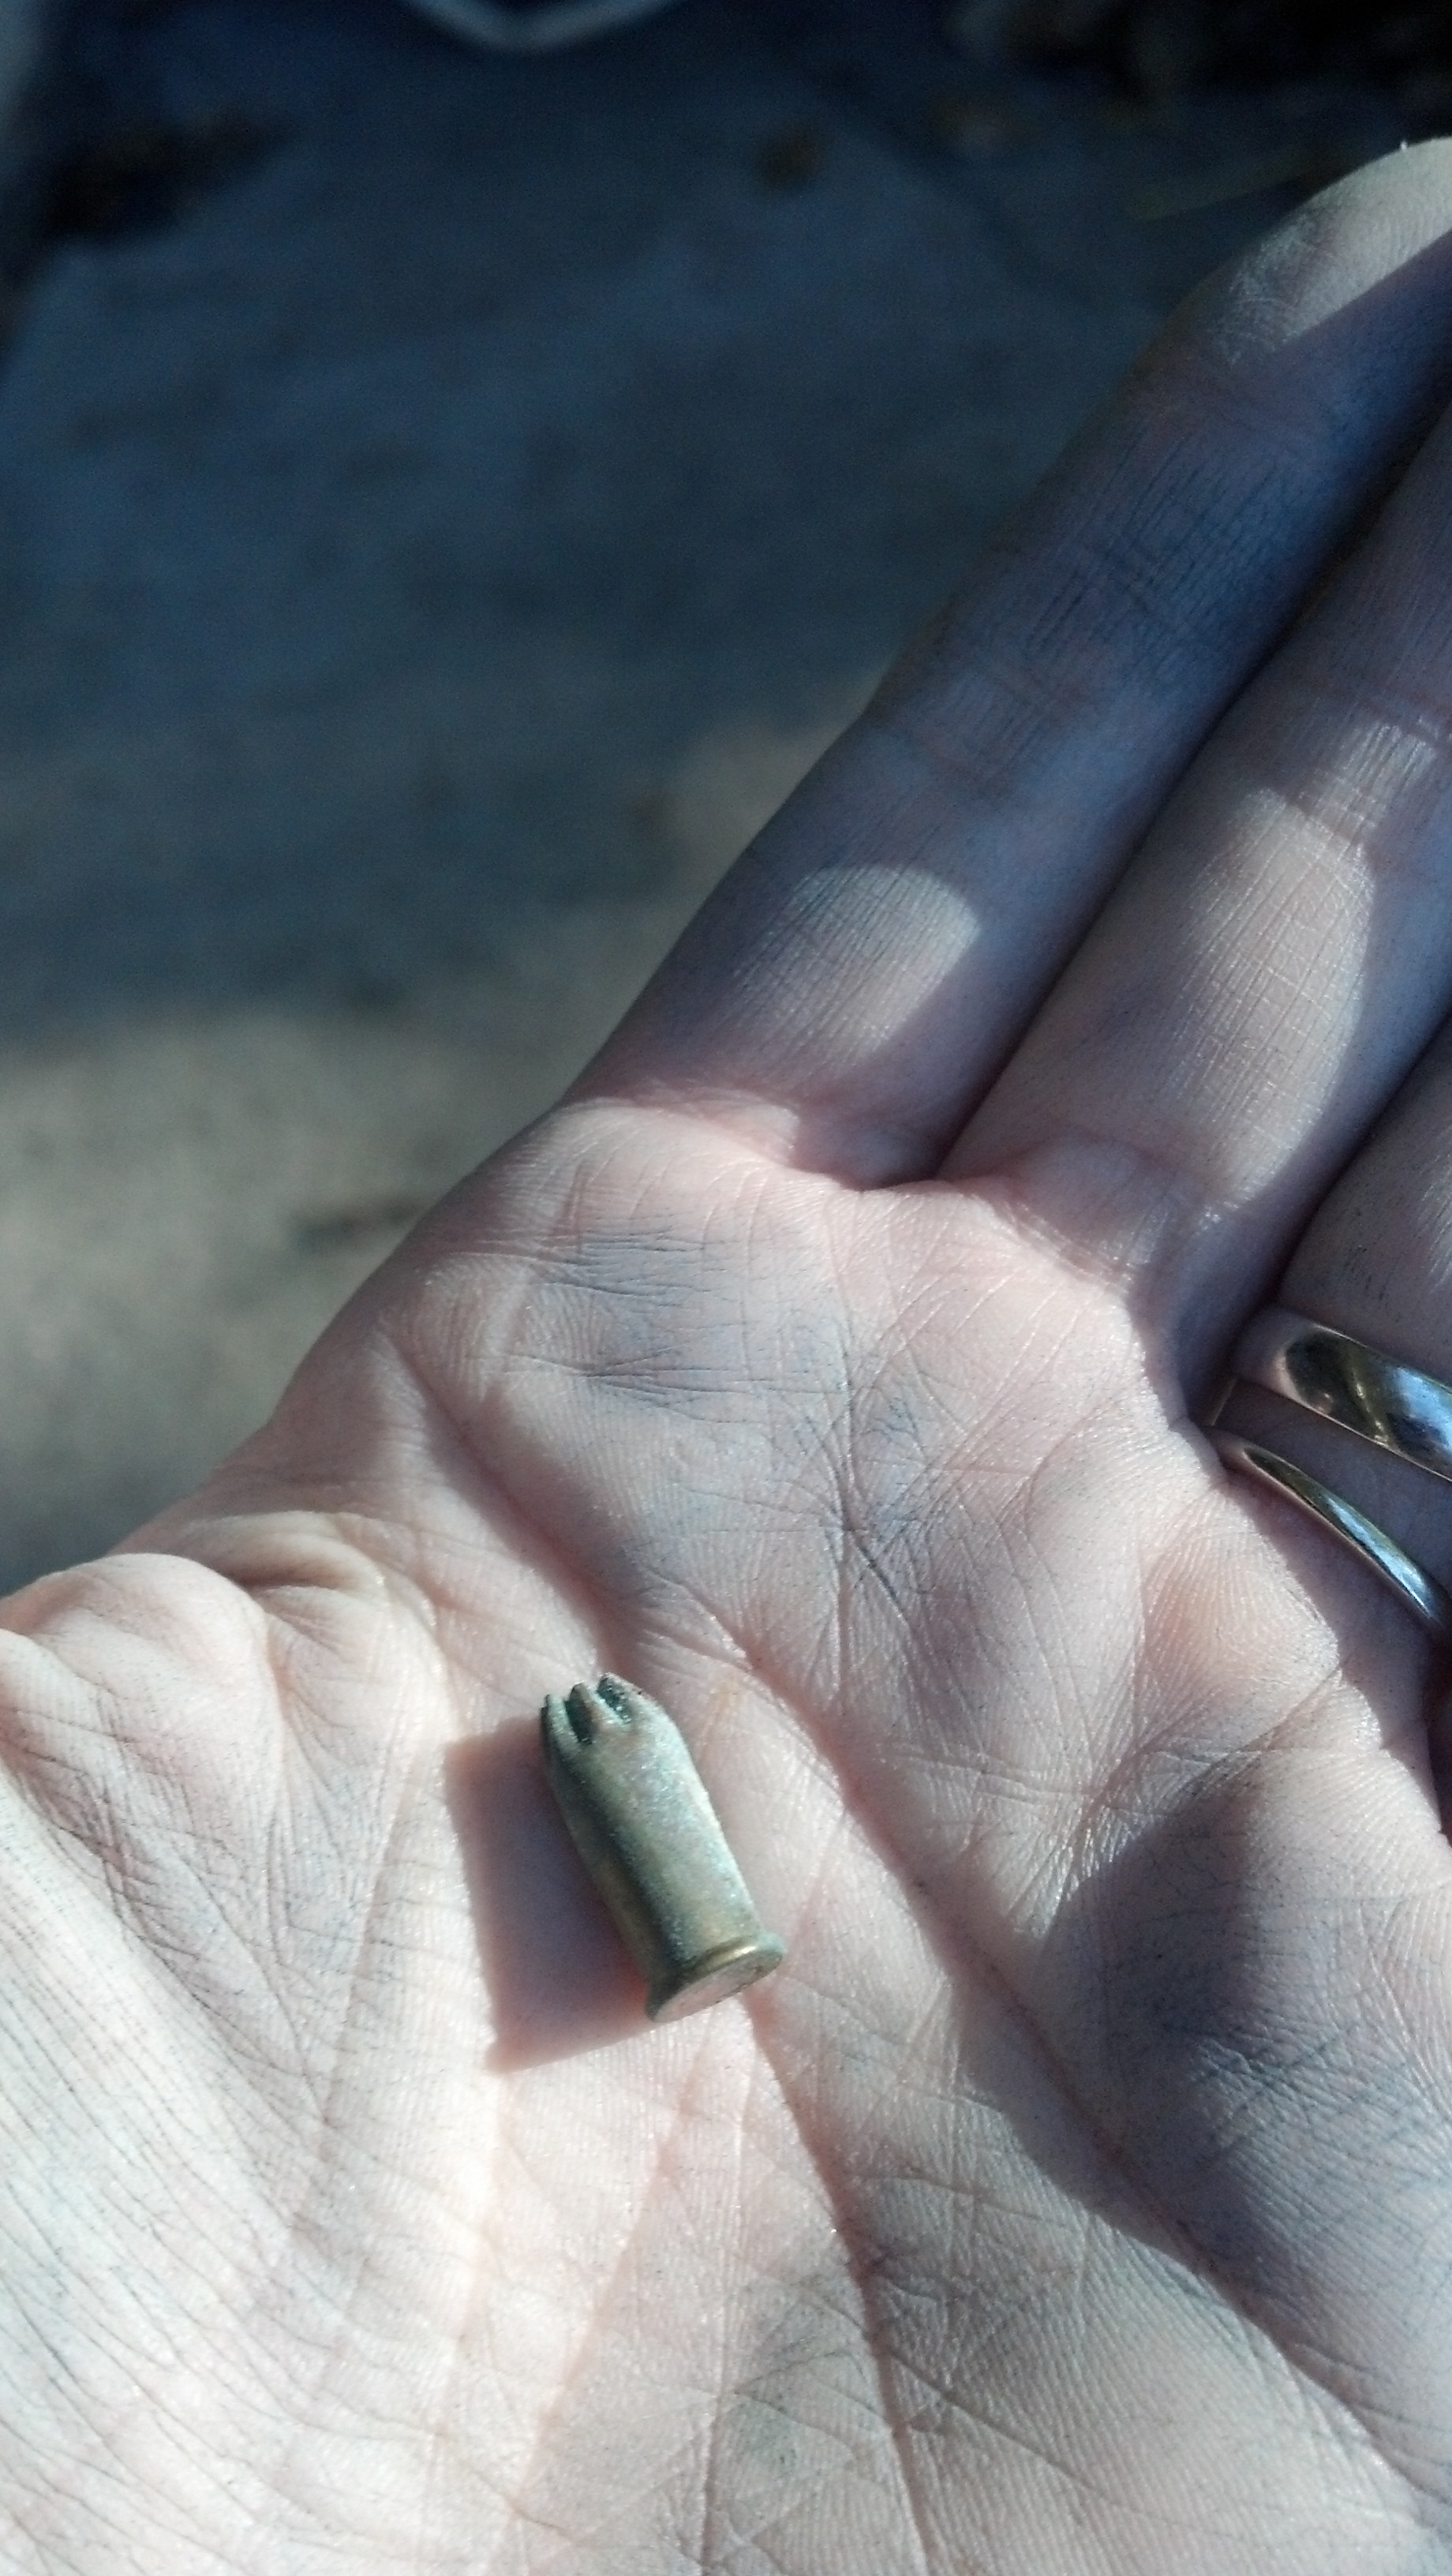
Bullet casing found in trunk.

If you liked this, you'll love our book, SO GOD MADE A MOTHER available now!
Order NowCheck out our new Keepsake Companion Journal that pairs with our So God Made a Mother book!
Order Now