Written By: Leslie Means
Craft stores and I are like men in Victoria’s Secret.
I know what I like, I know what looks pretty, and I like to browse. But when it comes to actually BUYING something and using it – I should simply leave it to the experts.
I just don’t have a *love* for crafting. Mom always made me walk around those stores as a young girl trying to find fabric to sew my latest 4-H project. I loved LOOKING at the fabric (and then modeling it later) but actually sewing the piece, eh – I could do without.
But…I’m ALWAYS up for a challenge. Today’s “pinspiration” was just the challenge I needed.
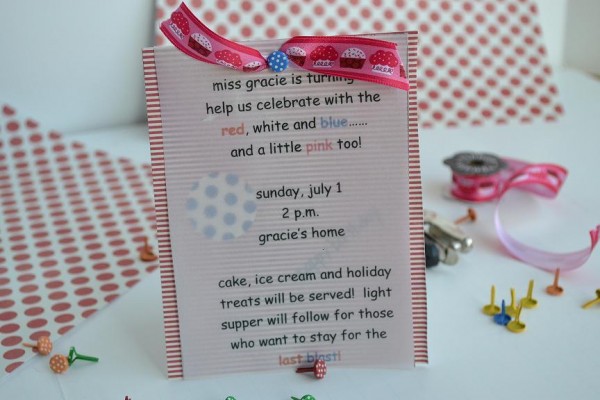
If you remember this post, I am searching for creative ways to celebrate my Gracie’s 2nd birthday. I *think* I’m still sticking with the red Elmo cake but the rest of the ideas I found on Pinterest have already gone by the wayside.
I’m now going with a Red, White and Blue theme (since her big day is on the 2nd of July).
There will, of course, be pink too.
So there I was…just me, my little cart and my “not very crafty unless I can look at someone else’s creation” mind, browsing through aisles and aisles of paper, glue and teeny tiny little beads. I couldn’t for the life of me decide how to make my invites and started placing items in my cart at random.
And then it hit me. I remembered a simple yet cute invitation my sister Lindsay made for my first baby shower almost 4 years ago.

I set out to create my own theme using her idea. At the end of my trip I had the following items to attempt my own version.

Non crafters don’t be fooled by the paper and crazy little tack looking things (they’re called brads – yes, Brad – like the guy you dated in college).
Aren’t they cute?!

This project is pretty easy especially if you use a ruler to measure the paper, instead of trying to “wing it” like me.
The only real issue I had with this project was the ink smearing on the vellum paper. Make sure you let it dry first!

Give it a whirl! Even Miss Gracie was impressed with her Mama’s creation.

Ok – don’t look too closely at the uneven edges. Other than that – I impressed myself. And was VERY happy I only had a handful to create!

4th of July Birthday Party Invites!
You Will Need:
- Decorative card stock in different colors/designs for the back piece. (I was able to make 4 invites on one sheet.
- Vellum paper (See through lighter paper can be found with the decorative paper at your local craft store. I got mine at Hobby Lobby.)
- Stickers
- Hole punch
- Brads (not the actual guy)
- Small ribbon
- Printer
- Scissors
How To:
- Print out the announcement onto the vellum paper. You will need to center this appropriately.
- Fold decorative paper in half, then half again. Unfold. Cut along lines. (This is the part where you can measure, too).
- Cut the vellum paper just a bit smaller than your card stock.
- Place vellum paper over the card stock. Punch a small hole in the top of your invitation. (You can punch two holes here if you want to thread the ribbon.)
- Cut a small piece of ribbon.
- Place ribbon over hole/top of paper. Use your brad to secure into place like so.

- Place stickers, etc on the card stock.

Final Cost: I purchased ALL of my materials for less than 10 bucks!
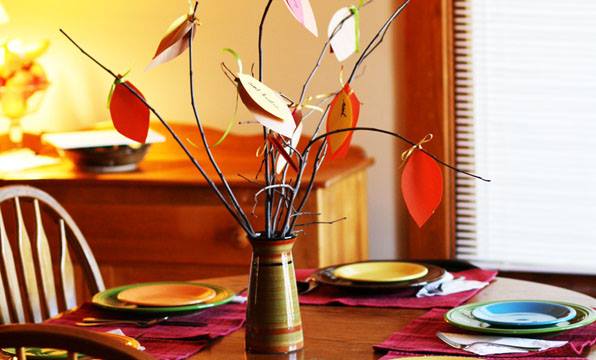
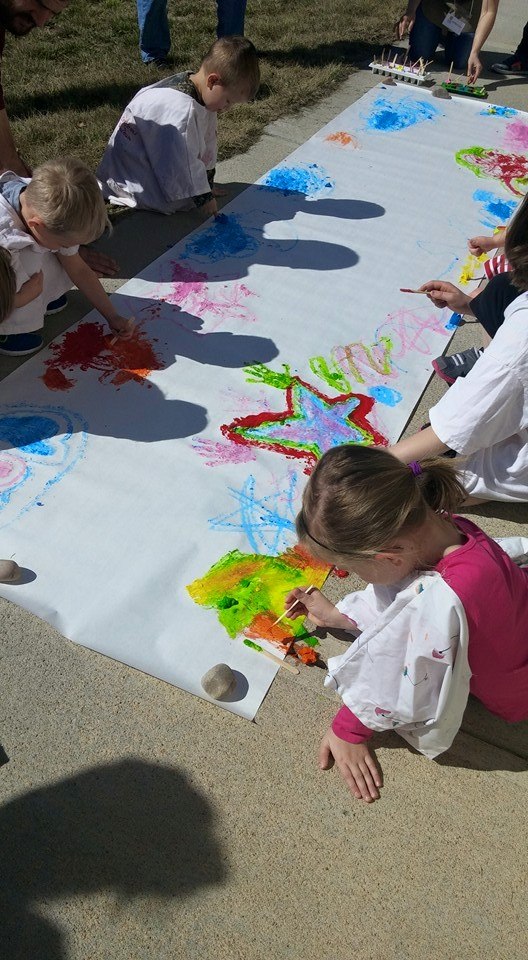
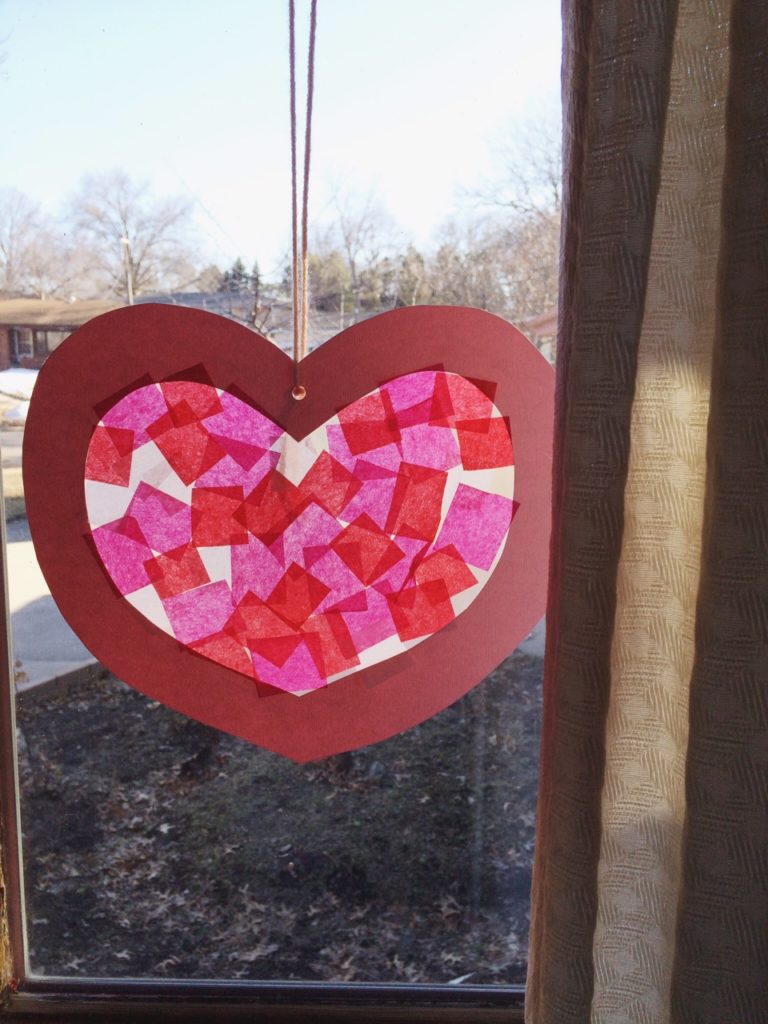
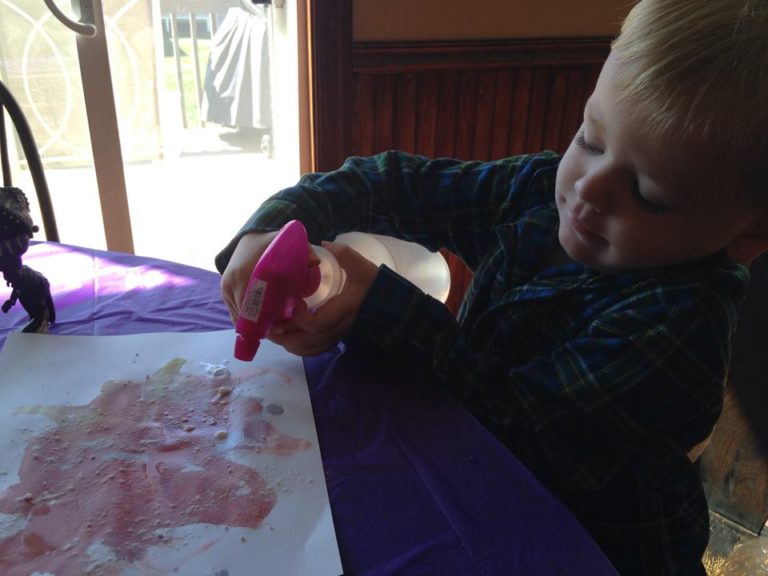
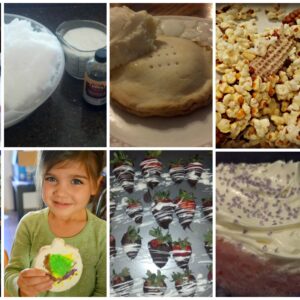
P.S. Here’s a bunch of pinterest inspired ideas I’ve found on my quest for Miss Gracie’s 2nd Birthday Party/4th of July bash!

Found these here. Totally. LOVE. And seriously – so easy! This would be a fantastic way to use fresh strawberries in your garden this season, too!

Yes. I am making these for sure!

Obviously this one is happening. But I’ll be using the number two! (I’ll do this for Ella’s big 4th birthday in August as well!)

I’m already tearing up looking at this one. Great way to capture the moment with her holiday birthday!

I’m not making this, as I will make Gracie a red Elmo cake, but I HAD to post. Great idea for the 4th!

LOVE this idea – and what a great way to get my girls involved. If I find time I’ll do this for sure. This site has several 4th of July kids craft ideas!

Seriously? LOVE! Even I can make these!
P.P.S – this has nothing to do with 4th of July parties, but my friend Chaaron made super cute decor for her baby boys room!

I know, right?! (Had to say that as it’s what all the kids are saying these days. And one of the younger gals at work says it often, now I say it too.) Plus, I want to be hip and trendy.
ANYWAY – check out Chaaron’s cute Nursery Pegboard over at her blog!
P.P.P.S – As expected Michelle (our DIY feature writer) had a very stylish 1st birthday stache bash for her little man!

I know, right?! (sorry – I had to) How CUTE! Check out her post here!
What are you doing for the 4th? Planning any parties? I would love to hear about your ideas!!
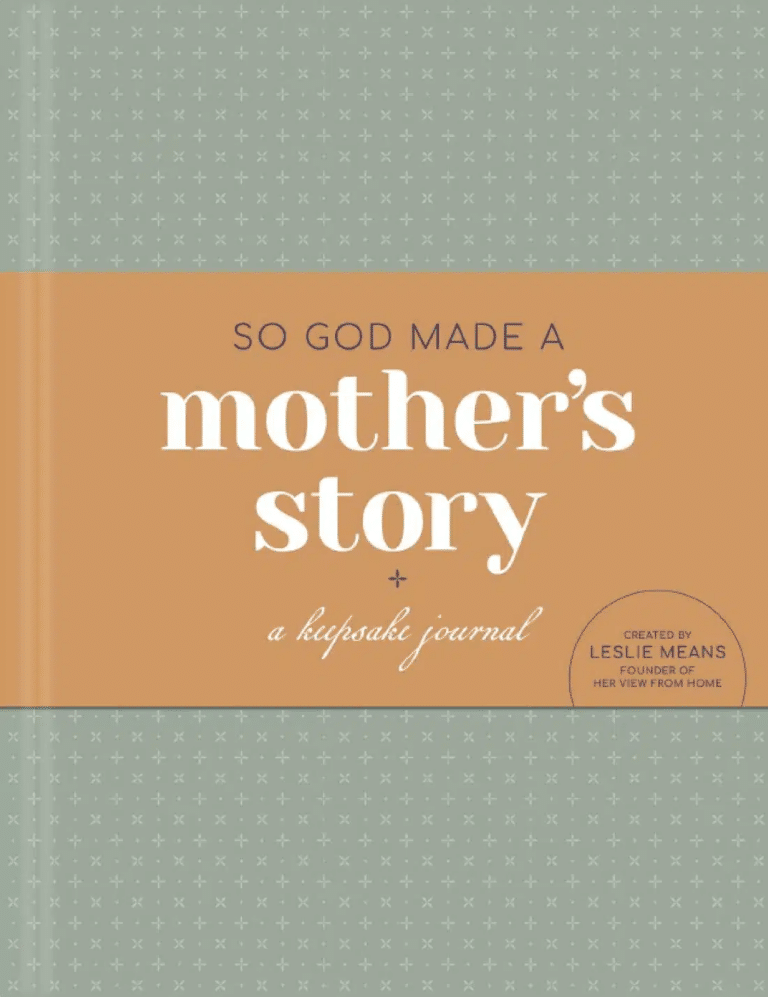
If you liked this, you'll love our book, SO GOD MADE A MOTHER available now!
Order NowCheck out our new Keepsake Companion Journal that pairs with our So God Made a Mother book!
Order Now