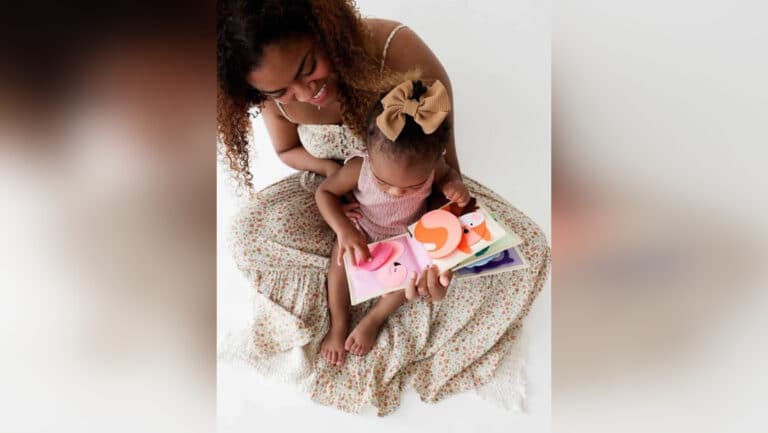
I’m a tech-savvy mommy of a 6-month old, and photos of her are very important to me. Not all of them get shared in a text, iCloud album, Facebook, or Instagram – but I take care in polishing the ones I do plan to share.
Here are some simple ways to improve the photos you take – even when your only camera is the one in your phone!
- Get Up Close
The number one thing you can do to very simply improve your photos is to get up close to your subject. This means their face (or whatever the focal point of the photo is) fills up most of what you see on your screen.
For a portrait, hold your phone slightly above the midpoint of their face – basically, position yourself so you’re not looking up their nose! If it’s your baby lying down, shoot from above their head, not down by their feet – unless of course their delicious toes are the subject of the photo!

Bonus tip: an off-center subject is much more interesting than one right in the middle!
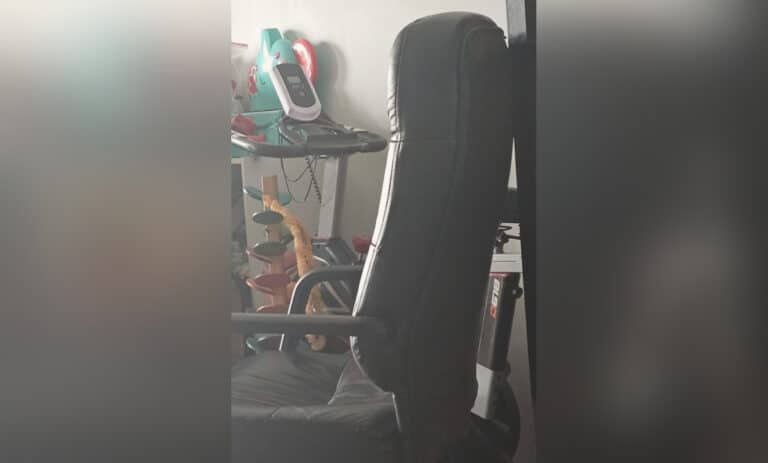
- Check the Background
I had to teach my husband this early on – always, always look around your subject to see what else is in your frame before you take the photo! Sometimes, you want the background, like in a landscape photo, or on vacation when the location is the subject. But often, a trash can or errant shoe may cause regret in an otherwise perfect photo of a precious moment.
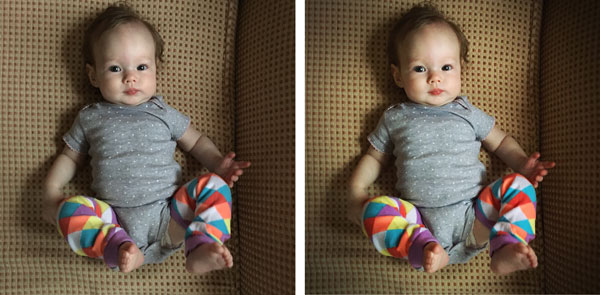
Step 1 – get up close – can help alleviate background troubles. So can a slight tilt to produce a creative angle. Or, take a step or two to the side – sometimes their head/toy/high chair will then block whatever is unsightly in the background.
- Don’t Block the Light
Light – as you know – lets you see things. The handheld aspect of phones sometimes means it’s easy to block the photos light source simply by holding out your arm. Then, when you look at your photo, you see a rectangle shadow dampening babies smile.
Practice holding your phone in a non-intrusive way – closer to your body, slightly to the side of the subject – and you will find it only takes about .5 seconds to shift your position while still capturing the shot with the same impact. The best thing to do is not separate this step out, but take it into consideration with steps 1 and 2.

Sometimes you can’t adjust your kids position, like when it would disrupt the moment. But other times you can pull back a curtain, or scoot them slightly more in front of the window. It’s OK to do some light staging to highlight your child’s star power!
- Enhance & Flourish
Finally, there are a few apps I’d like to recommend to address the following: color, light, focus, flourishes, and mood. None of these involve airbrushing, just polishing and bringing out the best aspects of the photo to better showcase your lovely child.
Please note: the apps mentioned below are simply favorites I’ve discovered, and I am not being paid or otherwise compensated to advertise them.
Color
I’ve recently started running my photos through ColorStory as the first step in my editing process. I enjoy that you can save your steps to reuse later – handy if you commonly shoot in the same area of your home, or just like the overall effect you’ve created.
The first step let’s you crop to a square or other dimension, then moves you to choosing your color filters. You can adjust the intensity, and I frequently back it off to between 15-40% depending on the lighting available in the original. It’s amazing how adding a little saturation to your colors makes you realize how dull your phone initially captured them, even when it’s brightly colored kids toys.
ColorStory is free with paid additions, and after several months using it I haven’t felt the need to purchase anything to accomplish the effect I’m after.
Light
ColorStory also has some advanced editing tools, but I prefer Snapseed. By using the Selective feature, you can tap on the area which needs brightened, for example, and only affect that area of the photo. This is useful when the face is just a bit too shadowed, but you don’t want to alter the contrast of the whole photo. You can also slightly increase or decrease the saturation, such as if the Color Story edit was great for bringing out colors in your child’s outfit, but made their face too red.
Snapseed is one of the most powerful free photo apps available.
Focus
Snapseed also has a wonderful Lens Focus filter. You may have used Instagram’s Tilt Shift, and this is similar but with far more control. In addition, Snapseed has a Sharpen filter that is better than most. I also like the Details filter for darkening midtones and shadows which can make your subject pop.
Flourishes
I generally let my photos speak for themselves, but sometimes it’s fun to add lettering, or a badge, or a fun illustration to commemorate a milestone or holiday. For this, I absolutely love PicLab Studio. They have a fun library of illustrations, and many great fonts to choose from. You have full control over size, positioning, and color of any elements you add. Pinch and zoom to really fine tune your composition.
Mood
All of the previous apps and suggested edits will have already affected the mood of your photo. I frequently share my photos via Instagram, and usually do a last tap through my favorite filters, which sometimes leads to pleasantly delightful results for my final photo. Instagram filters are largely about mood, and they’ve crafted them with care.

Pro tip: Even if you don’t want to share your photo with the world, you can still use Instagram filters. Place your phone in airplane mode and then “Share” it, which will save the photo to your camera roll but preventing it posting. Then, click the X to completely cancel the posting before turning off airplane mode, else it will still post once it finds a network connection.
I’d love to see your comments on the success of using these steps and apps, or any questions. And please share with your friends and family – especially grandparents and significant others!