Alright, y’all… RUN, don’t walk, to your grill and make this. It was amazing. We love having homemade pizza at home and this was probably my favorite pizza we’ve ever made. Sam and I have been wanting to try grilled pizza for a long time but just hadn’t gotten around to it. We were at the library one day and I saw this book. I checked it out and decided we needed to put grilled pizza on this week’s menu.
I made the basic pizza dough recipe from the book, but you could use any pizza dough recipe or even pre made dough from the store.
For enough dough for two pizzas, you will need:
¾ cup of warm water
2 ¼ teaspoons of yeast
½ teaspoon of sugar
1 ½ cups of unbleached flour
¼ cup of whole wheat flour
1 teaspoon of sea salt
2 Tablespoons of extra virgin olive oil
Combine the warm water, yeast, and sugar in a small bowl and let it stand for a few minutes. When the yeast is activated it will form a thin layer of foam on the top of the water.
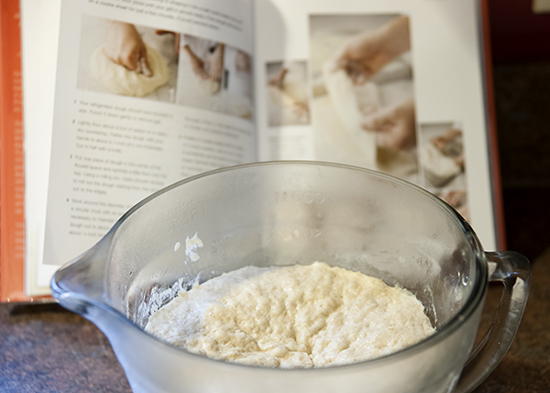
You can use a stand mixer to finish the dough but I just did mine by hand since it was a small batch. Put the flours and salt in a large bowl. Add the water mixture and olive oil. Mix well.
Sprinkle flour on your counter or a large cutting board and place the dough on top. Knead the dough for 5-6 minutes. If your dough is sticky, you can add more flour but be careful not to add too much.
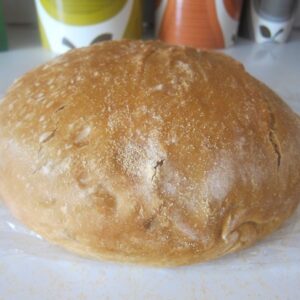
Place the kneaded dough in a greased bowl and cover with plastic wrap. Let it rise for an hour or two. It should almost double in bulk. If you have time, chill the dough in the fridge. You can even leave it overnight and make the pizzas the next day, which is what we ended up doing. The crust turned out beautifully, so I think letting it rest overnight helped! At this point you will also probably want to heat your grill up. We were using a gas grill and Sam had it on medium heat and let it warm up for about ten minutes.
Punch the dough down gently to release air. Flour your countertop or cutting board again and place the dough on top. Divide the dough in half, one half for each pizza crust.

Using a rolling pin, roll from the center of the dough out to the edges, sprinkling a light layer of flour as needed to prevent the dough from sticking. The shape of your crust will vary depending on the size of your grill. Ours ended up being a very imperfect rectangle to fit our grill. We also learned that you don’t want to get the crust too thin, as this makes it hard to transfer from a pan to the grill.
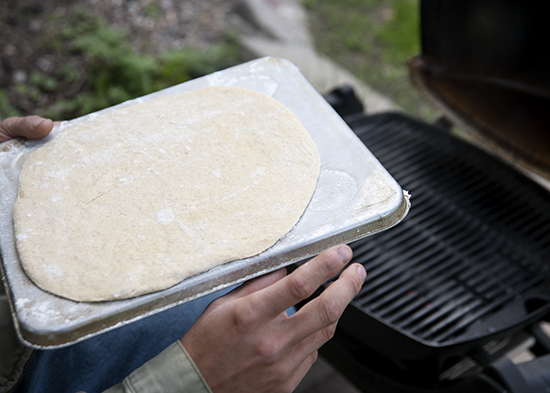
Transfer the dough to the back of a cookie sheet or another pan without edges. Make sure to grease or flour the pan before putting the dough on it to prevent it from sticking.
Your grill should be fully heated up before you put the crust on. You can use a non-stick cooking spray to grease the grill – just watch out for flames! Bring the pan with the crust close to the grill and transfer the dough to the grill. This part was a bit tricky and having two sets of hands might help the first time you do it.
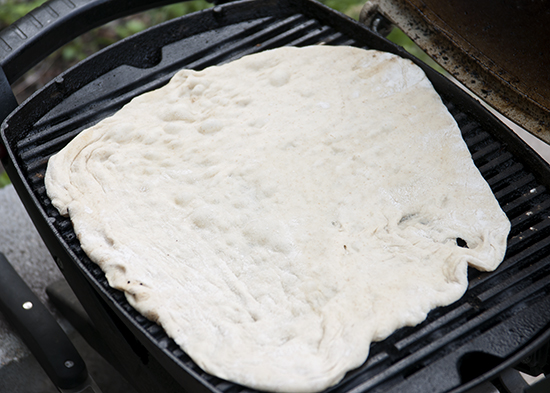
The dough will only cook for 2 or three minutes before it is ready for toppings, so keep an eye on it!
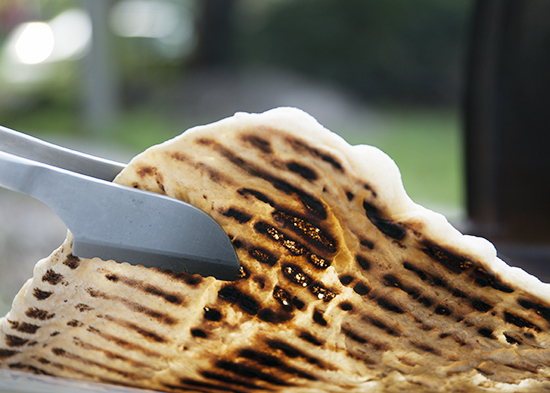
You’ll know it’s ready when it starts puffing up a little on top and gets these lovely grill marks on the bottom.
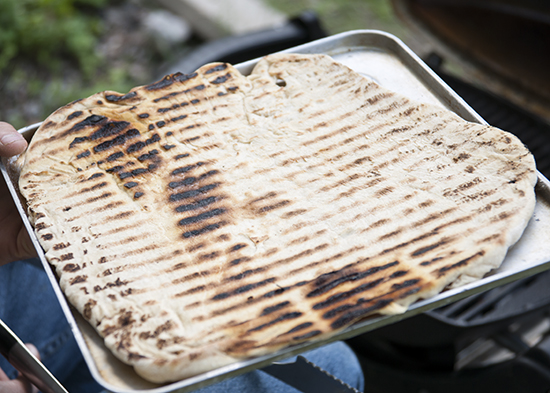
Using tongs, pick up the crust and put it back on the pan, grilled side up. This will be the side that you top.
Brush the grilled side of the pizza crust with extra virgin olive oil. I also added minced garlic to the oil to make it more flavorful. Sprinkle some grated Parmesan over the oil and follow with grated mozzarella.
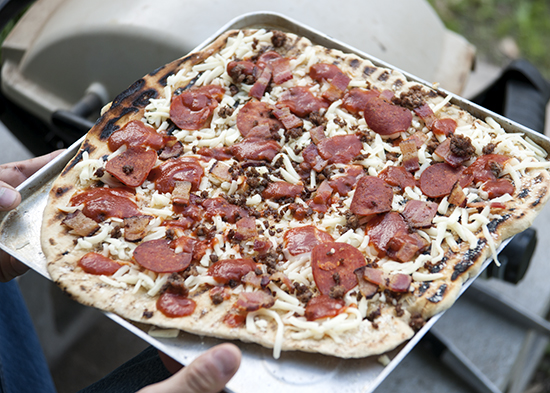
Drop spoonfuls of sauce over the cheese. You don’t want a heavy layer of the sauce, otherwise the pizza will be too heavy and get hard to move. Sprinkle the rest of your toppings over the sauce and cheese. Be careful to spread the toppings evenly and lightly. Think about having a different taste with each bite of pizza, rather than needing them all combined for each bite. This will help the pizza from getting too loaded down.
I didn’t get very creative with our toppings because a) I was using what I had on hand instead of buying a bunch of new ingredients and b) my wonderful husband is a… ‘selective’ eater and likes three things on his pizza: sauce, cheese, and meat. But the variety of toppings you could have are endless! You could use a creamy garlic sauce instead of marinara, or even use pesto as a sauce. There were also recipes for dessert pizzas in the cookbook that look delicious.
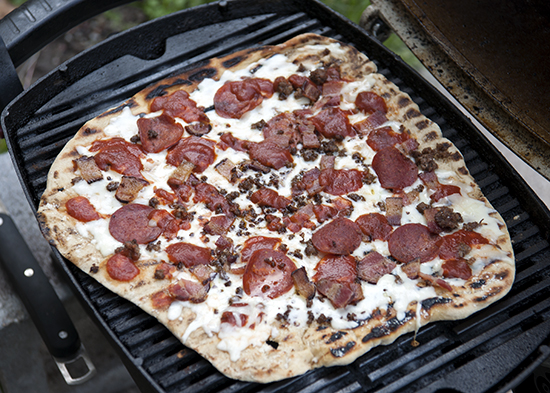
Turn the grill down to low. The goal is to have a slower heat to melt the cheese and warm up the toppings without burning the bottom of the crust. Bring the pan with your pizza near the grill and slide the pizza onto the grill. Having a nice set of grilling tongs really helped with this step. Grill the pizza for 5-8 minutes or until the cheese is melted and the bottom of the crust is nicely browned.
You can also finish the pizza in your oven’s broiler if you want to get the cheese browned.

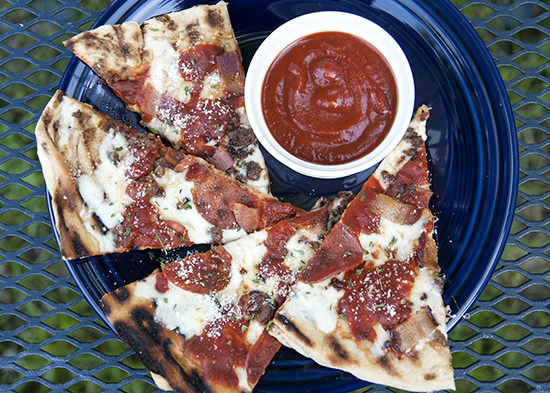
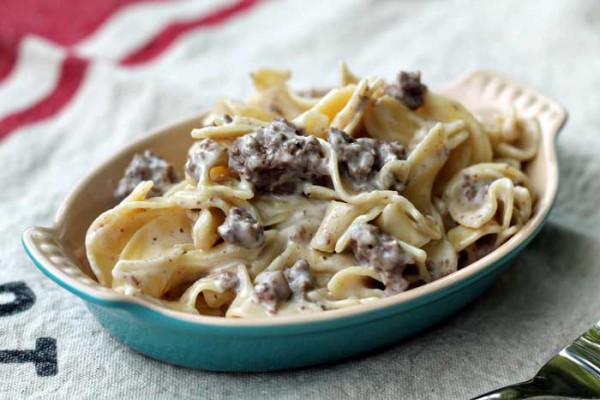
Slice the pizza and serve! I garnished ours with more Parmesan and a sprinkle of parsley.
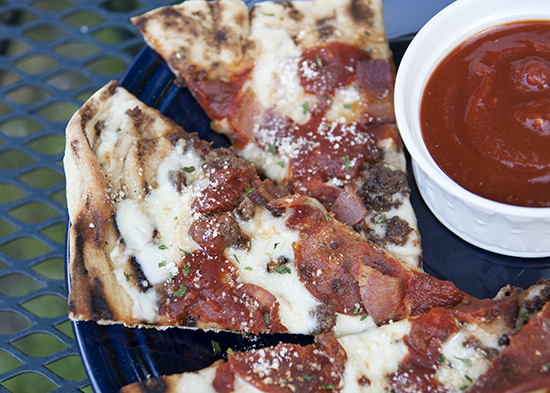
This was the best meal we’ve cooked in a long time, in my opinion. The flavors were so great and it was a nice change from your average pizza. The crust was almost like a flatbread, chewy in the middle and a little crusty on the bottom and edges. I even liked having less sauce because it really brought out the flavors of the rest of the toppings.
We will definitely be doing this again in the near future and we are also trying to figure out if we could make it in mass quantities for our annual Family Camp weekend in September!
Find more tasty recipes and beautiful images from Rachel!