Written By: Michelle Fortin @ Our Dream Foreclosure
My husband and I recently gave our boring, white living room a serious face-lift by painting large, bold stripes on the walls. We are thrilled with the result! However, it wasn’t necessarily an easy DIY project and we learned a lot, which is what I want to share with you today.
Complicating this already challenging project – our textured walls. Ugh! I wish it was easy to make textured walls flat, but it’s not. So, we’re choosing to keep ours around, but not let them stop us from creative painting projects.
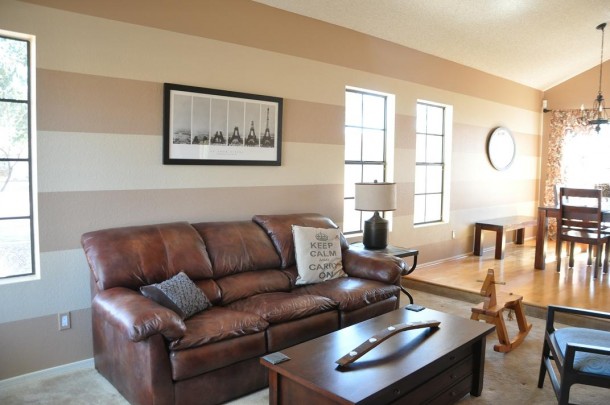
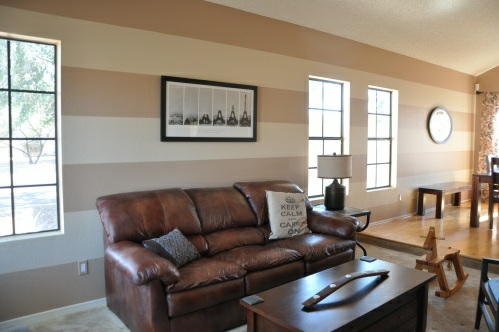
Here’s a shot of what our living room looked like before we painted and upgraded the furniture…

Why, yes! That is, in fact, the most boring living room in America. Not anymore! Here’s how we went from boring white to bold stripes…
Step #1: Painted the wall with two coats of the lighter color. In our case, that color is Sherwin Williams’ Colony Buff.

Confession: My husband, Jason, did most of the painting. I’m pregnant – so I tried to be good and stay away – but I did paint a bit (with a mask, of course!).
Step #2: Tape off the stripes! We decided on a width of 15-inches for our stripes and we had a heck of a time getting the lines perfectly straight. So, I’ll save you the trial & error drama and let you know what worked…
2a) Since neither the ceiling nor floor can be trusted as 100% straight (house settling and such), use a laser level to get that first line just right.
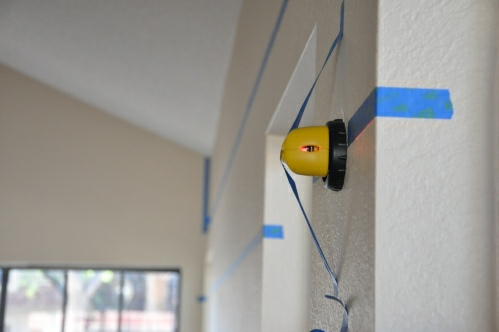
We picked up that laser at Home Depot for $15.
2b) Make sure you tape on the outside of where your darker color will go. So, that means the inside of the lighter stripe. When all of your tape is up, it will look like the stripes are different widths, but that’s okay.
2c) Once your first line is straight and taped off, use a plumb line to measure the other lines off that one. Since we weren’t sure it was going to work, we didn’t think to take pictures. But basically, a plumb line is a long string that you put two nails on either end of – then snap to reveal a chalk line – which, in theory will be perfect level. We didn’t use chalk though – we just taped along the string and that worked well for us.
Step #3: Once your lines are level and taped off, don’t rush and get your darker color! Take the lighter color again and dab paint on top of the tape where the darker color will eventually go. This is an especially crucial step for those of us with textured walls. Make sure that lighter color seeps into all of the nooks and crannies in the textured wall and seals that tape in as close as possible. The goal of this step is to not have any bleeding over of the colors between the lines.

Step #4: Okay, now go get your darker color! For us, it is Sherwin Williams Oak Barrel. This is the time to start rolling it on!
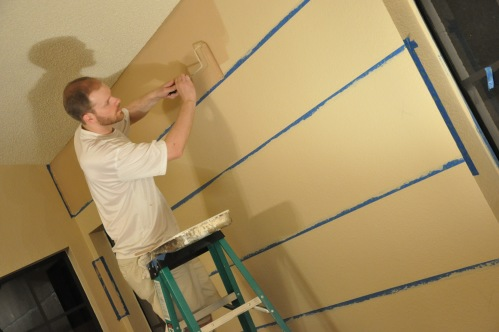
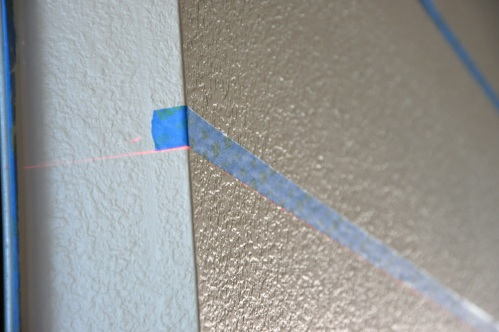
Step #5: Roll on two coats of this darker color and while the second coat is still wet and tacky, slowly start to peel back your tape. This is the moment of truth. Hold your breath and hope you did Step #3 correctly! If you did, your lines will look like this…

…perfectly straight with no bleeding over of the colors. Our stripes turned out fantastic! Up close, they almost look like wall decals. That’s how perfectly this method worked for us.

We painted stripes on two walls in living/dining room area… the long wall that connects the living and dining rooms and the wall that you immediately see when you enter the house.

Those stripes seriously make me smile every time I see them.
What do you think? How did we do? Would you do something similar in your house too?