Written By Jennifer Sill
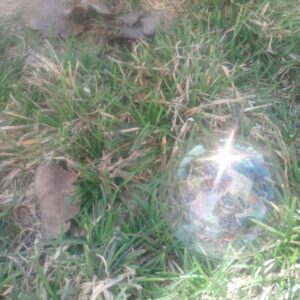
Summertime. Time to enjoy the sun. Except on rainy days. But that’s alright. It gives us time to do art projects that honor the sun. Here’s one I found on Pinterest. Sun catchers made from some old beads.

Ingredients:
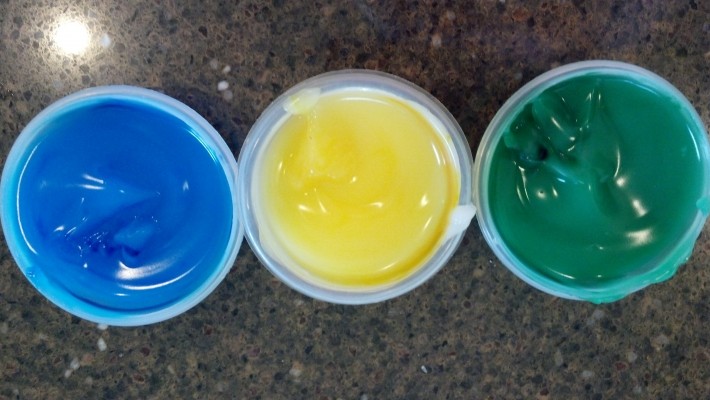
Old Beads
Cake Pan or Muffin Tins (or both.)
Fishing line to hang them


*We didn’t have old beads so we had to go to the store to buy them. We got our pans at the Dollar Store just in case the beads ruined the pans.
Directions:
1. Preheat oven to 400 degrees.
2. Place beads in a single layer on the bottom of the pan.
3. Bake for 30-40 minutes depending on the type of plastic bead you have.
4. Let cool.
5. Pop out of pan
6. You may have to drill a hole.

Hints:
1. Use metal pans. The ceramic and glass ones work, but they take longer.
2. Your house will smell like burning plastic. Don’t do this on a day when you’re expecting company. (I did it on a day when my Bloodhound-nosed husband was out of town on business.)
3. The cheaper the plastic beads the better. The cheap ones melt much faster than the more expensive.
4. You may have to buy clear plastic beads to make sure you have some ‘sun catcher’ parts.
5. These are sun catchers, not noise makers. They are NOT wind chimes. The plastic doesn’t chime. (But I didn’t want wind chimes. We’re hanging them in my daughter’s window. I was attracted to the non-sound the plastic would produce.)
6. Be sure to put the beads in one, single layer. THIS ONE IS IMPORTANT.
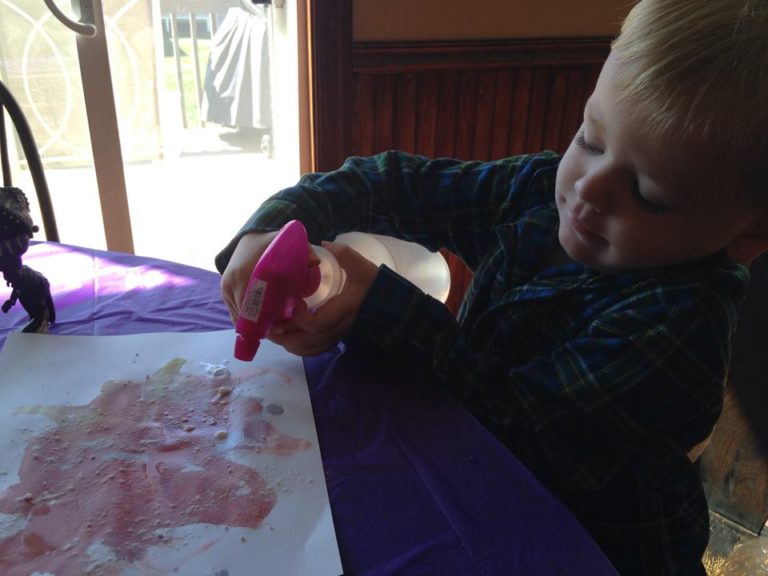
These are super simple. My 3-year-old enjoyed putting the beads in. Older kids could make actual designs… swirls… letters… etc. Depending on the amount of time you had. I can picture one with blue clear beads and yellow specks… kind of a “Starry Night.”
Cost: Pretty minimal. I had the pans. The Beads were about $2 a pack.
Ease: SUPER easy. But it could be more difficult depending on the age of the kids.
To do or not to do? Eh… If you have some time. I don’t think they’re very high quality. I wouldn’t buy them in a store. But they were good for a rainy day afternoon if you want the extra ‘craft projects’ around your house.
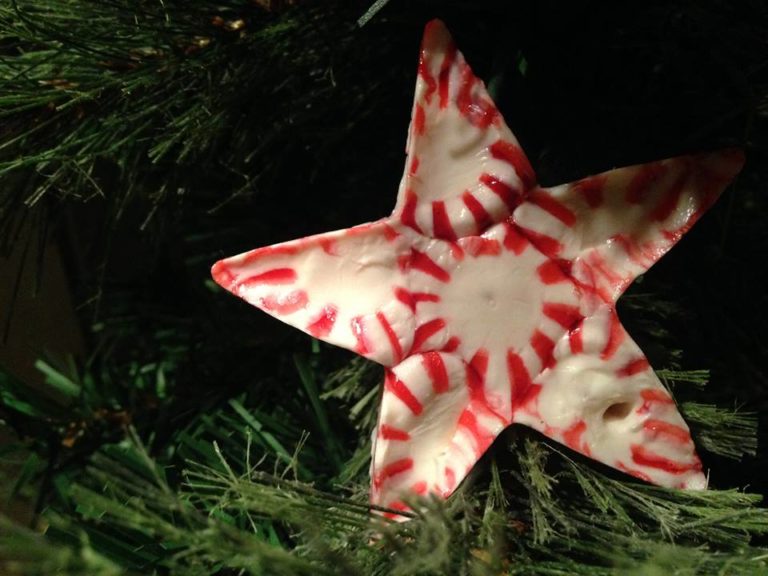
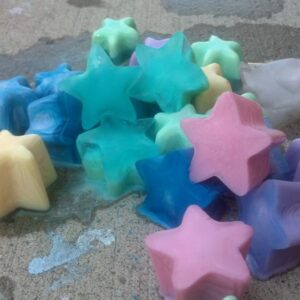
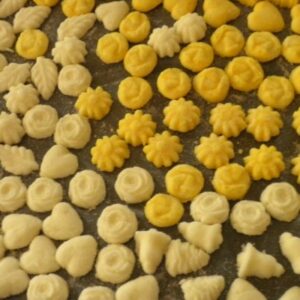
*I think we’ll try the different shapes closer to Christmas… for tree decorations.
Here’s the photo I saw on Pinterest:


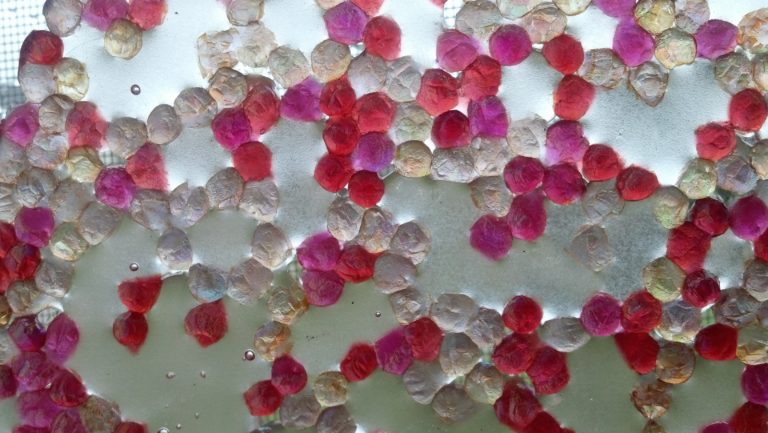
My husband’s cousin tried this project, too. Here are Andrea’s creations!
Thanks for sharing!!
**My Pinspirations are based on things I find on Pinterest. My daughter and I are ‘average’ artists. I try to be honest and tell you whether to try the project or let the expert crafters have at it.
You, too can become a member of the site. Once you do, follow Jennifer Sill and you can see all the stuff I’d like to do with my ‘free’ time. (heeheehee).
Also, remember to follow Her View From Home!! Happy Pinning!