L.O.V.E. this one. LOVE
This is a recipe for ice cream made from snow.
You see, I kind of HATE snow. HATE it. I’m not very fond of winter in fact. I’m happy for the changing seasons, but if winter could be one snowy Friday night and snowed-in Saturday and then warm up to spring, I’d be very happy. I’m lucky that my husband LOVES the snow. He is ice fishing right now. He takes my kiddos out sledding, snow man building and such. I happily stay in and make hot chocolate for their return.
SO, when I find projects that bring the snow INSIDE, I’m overjoyed! This type of project helps me enjoy winter just a little bit more.
I have several of these snowy/cold weather projects stacked up to show you during January. I can’t wait to do them!!
This one I had to try first because it looked so fun!! And it was.
Snow Ice Cream

Ingredients
1/2 gallon of snow
1/2 cup white sugar
1/2 Tablespoon Vanilla Extract
1 cup of Milk
Directions:
Mix and enjoy. You can top with any regular toppings or mix chocolate or strawberry topping in for flavored snow ice cream. Mine was strawberry. Yum.
Notes:
*Do not eat snow that is not white. (Duh!) (Fresher is better)
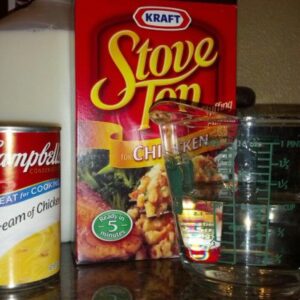
*Put your milk in the freezer for 30 minutes so that it is SUPER cold when you mix. (So it doesn’t melt the snow)
*Do not try to save this snow for ice cream the next day. You end up with a large sugar ice cube.
*Since you will likely have leftovers, try making snow-pops. (Use whatever you use to make popsicles.)
*Know this will be kind of runny. But the fun factor overcomes the not-really-creamy-ice-cream factor.
Here are some photos of our fun:


Scooping a little bit more from the deck (we caught most of it in the bowl for ‘fresh’ snow)

Put the milk in the freezer for at least 30 minutes

Mix with a big spoon.

Ha! My kiddos wouldn’t stop ‘enjoying’ long enough for a smile.

Here’s our leftovers. A snow popsicle
I also suggest you visit Housing a Forest. I’ve keep going back to her site from Pinterest for my Pinspirations!!
You can check out my other Pinspirations here…
And for a sneak peek at my future projects, follow me on Pinterest here.
**First posted 1/7/2013